Introduction to JavaFX animations
This page was contributed by Connor Schweighöfer under the UPLThe javafx.animation package offers a simple framework for creating animations and transitions in a JavaFX application.
It operates on the principle of WritableValue<T>, which is used across JavaFX. WritableValue<T> is an interface that wraps a value that can be read and set.
It is commonly used for storing properties in JavaFX UI elements, like width or height in the Rectangle shape.
It additionally provides a variety of built-in transitions for common effects, support for parallel and sequential transitions, and the ability to handle events upon animation completion.
This article goes through all types of animations, starting with Animation and its subclasses Transition and Timeline, before representing a lower level animation with AnimationTimer.
While Transition provides a simpler and more user-friendly way to create animations, Timeline offers greater flexibility and is suitable for more complex animations.
In contrast, AnimationTimer is designed for frame-by-frame updates and does not make use of WritableValue<T>.
Animation
The abstract class Animation provides the core functionality for Transition and Timeline animations and can't be extended directly.
An Animation consists of multiple properties:
- The
targetFramerateis the maximum framerate (frames per second) at which thisAnimationwill run. - The
currentTimeis the current point in time in theAnimationas aDuration. - The
ratedefines the direction and speed at which theAnimationis expected to be played. It supports both positive and negative numbers. - The
cycleCountdefines the number of cycles of thisAnimation. It can't be changed while running and must be positive. - The
cycleDurationis theDurationof one cycle of thisAnimation. It is the time it takes to play from start to end of theAnimationat the default rate of 1.0. - The
totalDurationindicates the total duration of thisAnimation, including repeats. It is the result ofcycleDuration * cycleCountor possiblyDuration.INDEFINITE. - The
delayis theDurationthat delays theAnimationwhen starting. - The
autoReverseproperty specifies whether theAnimationwill play in reverse direction on alternating cycles. - The
onFinishedevent handler is used to define additional behavior when theAnimationfinished. - The
statusrepresents the current state of theAnimation, possible states arePAUSED,RUNNINGandSTOPPED.
Additionally, it provides several useful methods, like play(), playFrom(String cuePoint), pause(), stop() and more to control the animations flow.
A quick look into its documentation provides a great overview of its functionalities.
Transition
The Transition abstract class serves as the foundational class for all transitions, presenting a common form of Animation.
JavaFX provides a variety of built-in transitions for common Node and Shape properties.
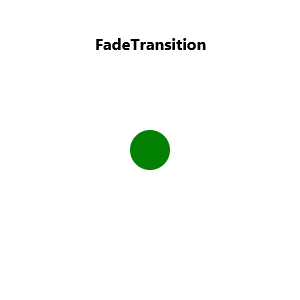
Fade Transition
The FadeTransition creates a fade effect.
This is done by updating the opacity property of the Node at regular intervals.
(For a complete guide on setting up a JavaFX application, refer to this article: JavaFX Application Basic Structure By Example)
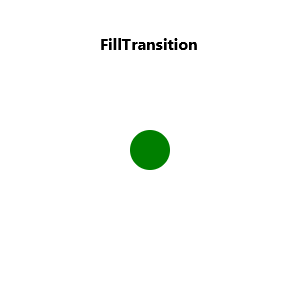
Fill Transition
The FillTransition creates an animation, that changes the filling of a shape.
This is done by updating the fill property of the Shape at regular intervals.
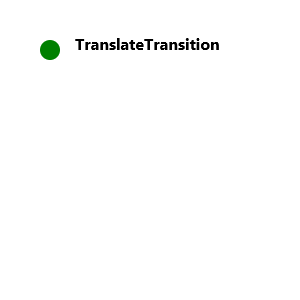
Translate Transition
The TranslateTransition creates a move/translate animation from one position to another in a straight line.
This is done by updating the translateX, translateY and translateZ properties of the Node at regular intervals.
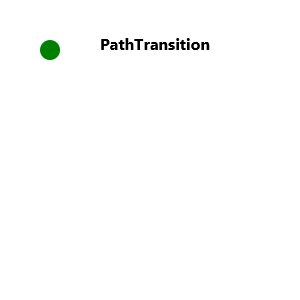
Path Transition
The PathTransition creates a move animation using a complex predefined path specified by a sequence of shapes.
The translation along the path is done by updating the translateX and translateY properties of the Node, and the rotate variable will get updated if orientation is set to OrientationType.ORTHOGONAL_TO_TANGENT, at regular intervals.
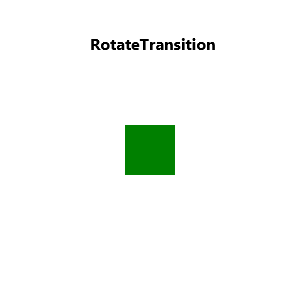
Rotate Transition
The RotateTransition creates a rotation animation.
This is done by updating the rotate property of the Node at regular intervals.
The angle value is specified in degrees.
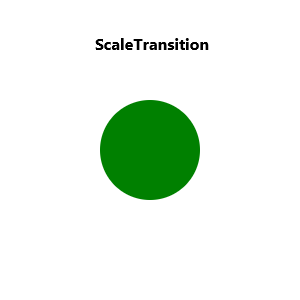
Scale Transition
The ScaleTransition creates a scale animation, that changes the size of a node.
This is done by updating the scaleX, scaleY and scaleZ properties of the Node at regular intervals.
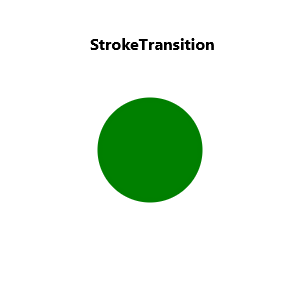
Stroke Transition
The StrokeTransition creates an animation, that changes the stroke color of a shape.
This is done by updating the stroke property of the Shape at regular intervals.
Sequential Transition
The SequentialTransition plays a series of animations in sequential order.
It is not recommended to contain an Animation that is not the last one with Duration.INDEFINITE as this will block all later animations in the sequence.
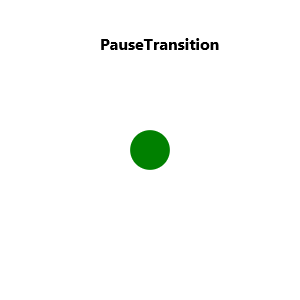
Pause Transition
The PauseTransition creates a pause for a specified duration.
This behavior is useful to create a delay in a SequentialTransition in which no properties change.
Note that this code only sets a Node on the SequentialTransition, which is the parent transition here, and not on the individual child transitions.
They will implicitly use their parent transition's Node.
Parallel Transition
The ParallelTransition plays a group of animations in parallel.
Timeline
A Timeline is used to define a free form Animation on any WritableValue<T>. It is helpful if none of the built-in transitions operate on the required properties.
It consists of a sequential series of KeyFrames, each of which encapsulates a moment in time. Collectively they specify how target properties evolve over the entire duration.
Warning: A running
Timelineis being referenced from the FX runtime. In an infinite timeline, the objects with animated properties would not be garbage collected, which might result in a memory leak. Therefore, ensure you stop the timeline instance when it is no longer needed.
KeyFrame
A KeyFrame represents a specific moment in an animation sequence (Cue Point) and comprises a collection of KeyValue instances that change over the given Duration.
A KeyFrame can have a name which then can be used to identify this KeyFrame in an animation, for example for starting from this specific KeyFrame using playFrom(String cuePoint).
It is also possible to provide an onFinished implementation, which will be invoked when hitting this cue point.
KeyValue
A KeyValue establishes a mapping between a WritableValue<T> and a target value of type T. This is used to define the change of a value.
An Interpolator can be additionally defined to set the rate of change for this value. The KeyValue class is immutable.
Example
This example of Timeline creates a Circle which moves 200px in x direction over the duration of 5 seconds:
Interpolator
The Interpolator abstract class defines the rate of change at which values change over time, influencing the smoothness of animations.
There are several built-in implementations for common interpolation techniques.
Note: By default, all transitions, excluding ParallelTransition and SequentialTransition, utilize the Interpolator#EASE_BOTH.
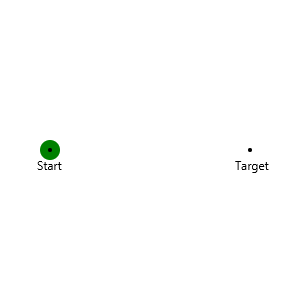
Here is a visualization of the Interpolator using the example from Timeline:
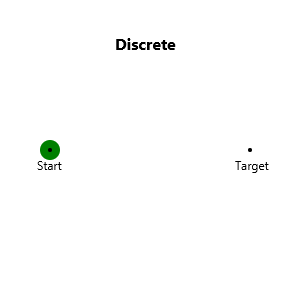
Discrete
The Interpolator.DISCRETE interpolator creates a sudden transition between values without any intermediate steps.
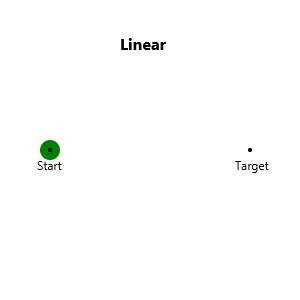
Linear
The Interpolator.LINEAR interpolator produces a constant rate of change between values over time.
Ease In
The Interpolator.EASE_IN interpolator starts the animation slowly and accelerates as it progresses.

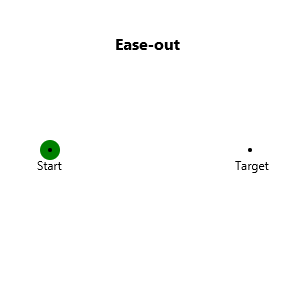
Ease Out
The Interpolator.EASE_OUT interpolator starts quickly and slows down as it progresses.
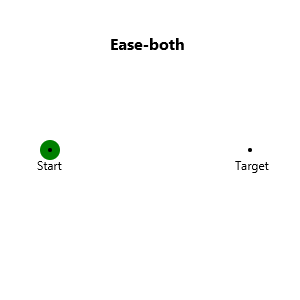
Ease Both
The Interpolator.EASE_BOTH interpolator starts slowly, accelerates in the middle and slows down towards the end.
It combines the characteristics of EASE_IN and EASE_OUT.
Additionally, there are two static factory methods for Interpolator.SPLINE and Interpolator.TANGENT interpolation.
Animation Timer
The AnimationTimer abstract class provides the lowest level option to create an animation.
The handle(long now) method gets called in each frame while it is active. The timestamp now is the time of the current frame in nanoseconds and will be the same for all AnimationTimers called during that frame.
Additionally, the AnimationTimer adds start() and stop() methods to handle the lifetime of the animation.
Note: The handle method will be called in the JavaFX Application Thread, so it should avoid long-running and blocking operations.
To maintain a smooth frame rate of 30 frames per second, the whole JavaFX application ideally allocates no more than 33 milliseconds per frame.
Conclusion
In this tutorial, you've explored the javafx.animation package and learned how to create dynamic animations within JavaFX applications.
We started by understanding the base Animation class, and then moved on to Transition and Timeline classes, which provide different ways
to create and control animations. Additionally, you have learnt how to control the progression of an animation via several Interpolator examples.
Finally, we covered the AnimationTimer class, which allows for animations with precise frame-by-frame updates. With these tools, you are now
equipped to create rich animations in your JavaFX applications.
Last update: May 31, 2024
Back to Tutorial List